Software and Hardware Usage

PS2 DS2 H controller 760020 board BU6370AK main chip conductive film replacement and repair

A friend had two H controllers. One was severely damaged: all buttons except the left and right sticks, L3, and R3 were nonfunctional (because years ago it was soaked in cola…). The other had L1, L2, and D-pad up and left failing, while the rest worked normally. Opening them up:

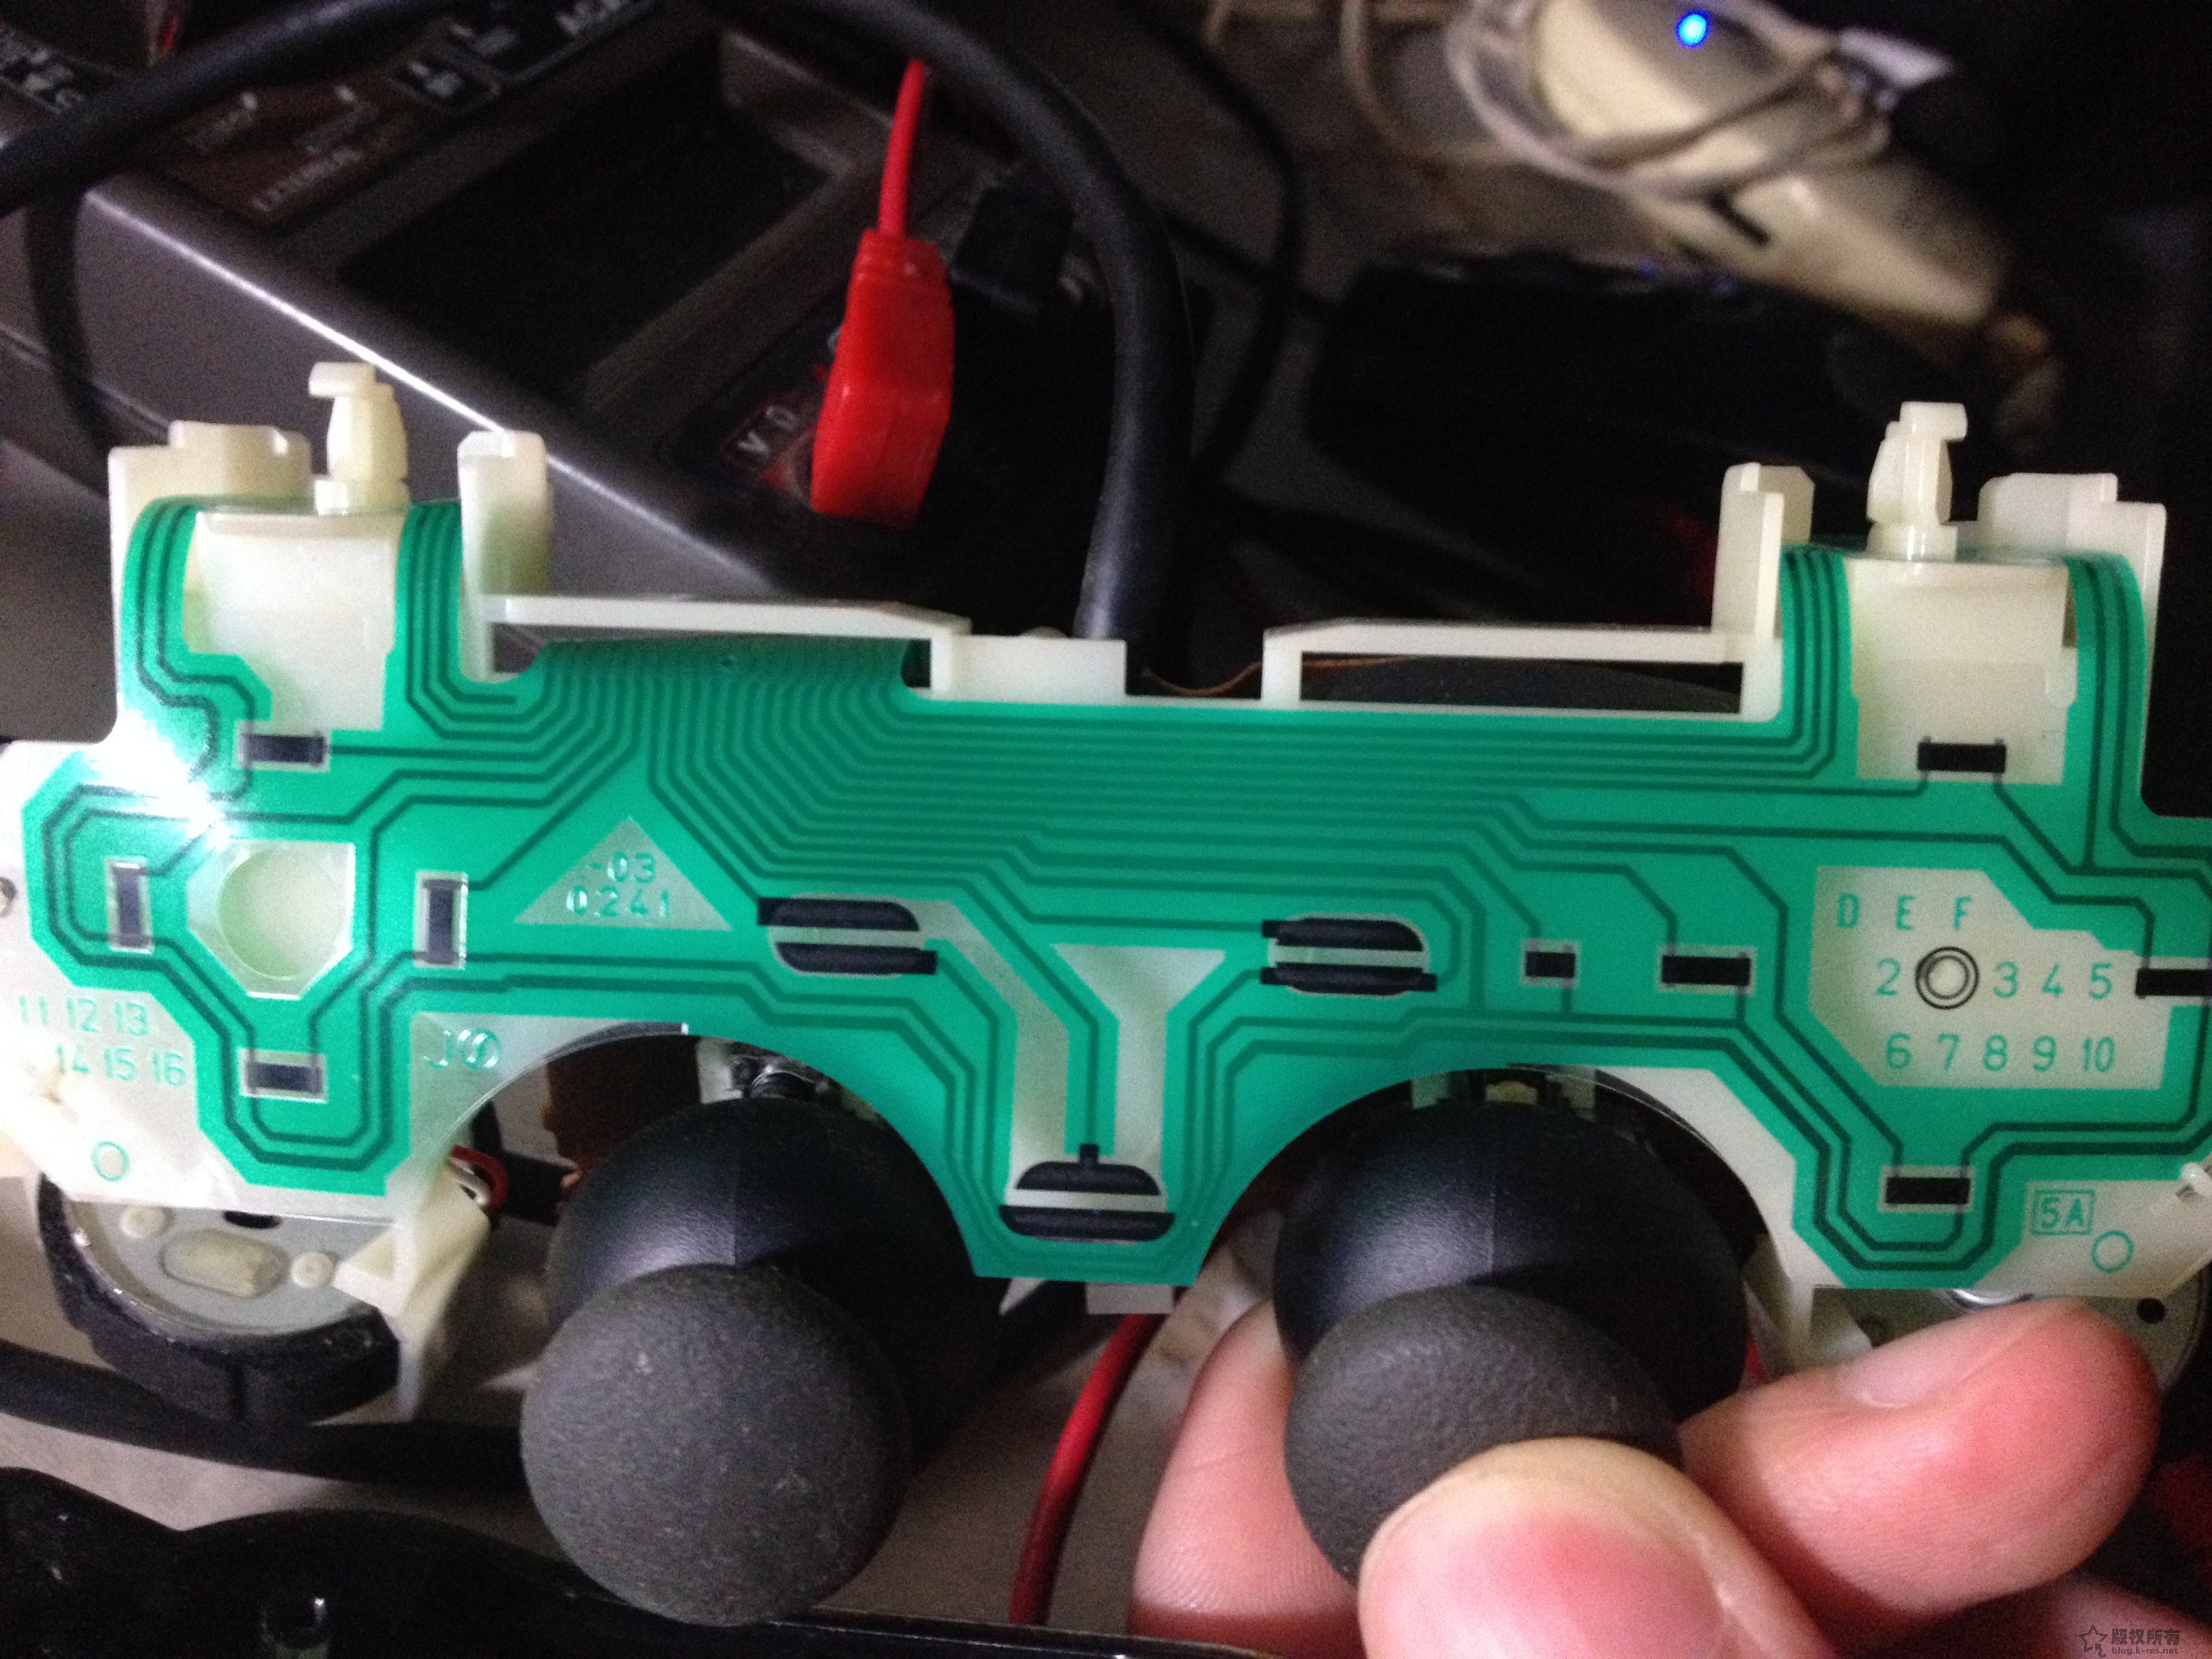
IMG_0756 IMG_0755
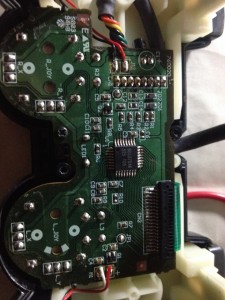
The back cover showed it was an H controller, with the board marked 760020 in white at the top left. This is the second version of the H controller. The conductive film under the button pads was marked 03-0241. On Taobao I found similar films for about 2 RMB each. Observing the connection between the board and the conductive film, I confirmed that the film connector and socket are integrated, with the socket pins soldered directly to the PCB. Comparing with my A controller, its conductive film is pressed directly onto the PCB. Taobao did not sell the original socket type film, but luckily one seller offered a similar 19-pin pluggable socket.
Looking at the PCB traces and referencing information that PS2 DS2 controllers support pressure sensitivity, the conductive film carbon contacts change resistance depending on button pressure, which the BU6370AK main chip converts into digital signals for the console. Examining the film traces, I saw that except for Select, Start, and Analog buttons, all carbon contacts shared one common line, corresponding to pin 9 from the left. Using a multimeter with one probe on pin 9 and the other on each button pin, pressing a button showed resistance changes from 0 to several kΩ (tested on the partially working controller). On the faulty buttons, it was open circuit. Comparing traces, L1, L2, D-pad up, and left corresponded to the leftmost pins, while D-pad down (which worked) was the next pin after left. So I concluded those four buttons had broken traces on the film. The other controller was worse: all buttons failed, only the analog sticks worked. Despite the cola damage, the main chip seemed fine. So I ordered replacement films and sockets from Taobao.

Continue reading…

Systemd – Failed to reload daemon: Refusing to reload, not enough space available on /run/systemd

While configuring a Debian 11 virtual machine with 128M memory, I ran into an error when reloading systemd service configuration. The error message was as described in the title. After investigation, I found that Debian by default allocates /run space proportional to system memory. With only 128M memory, the default /run size was 16M. When executing systemctl daemon-reload, the error appeared, along with a message like:

Currently, XX.XM are free, but a safety buffer of 16.0M is enforced.

The solution is simply to increase the /run size. Modify /etc/fstab and add the following line:

none /run tmpfs defaults,size=64M 0 0

This specifies 64M space for /run. According to online sources, this should be sufficient for most cases. Then execute:

mount -o remount /run

to remount /run. After completion, use df -hT to confirm the current size of /run. Once increased, running daemon-reload works normally again.

A record of fixing an Altium Designer Health Check issue

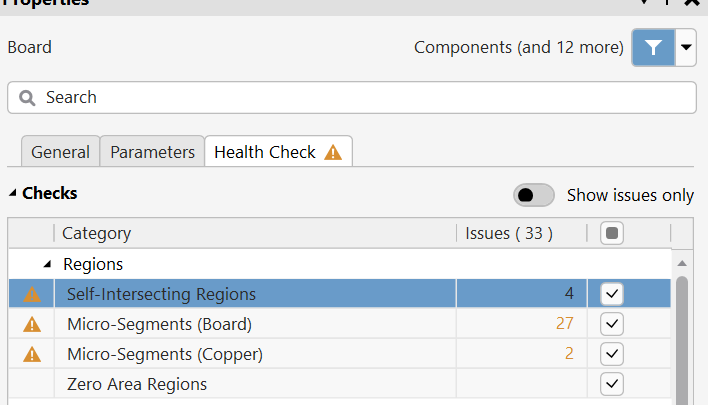
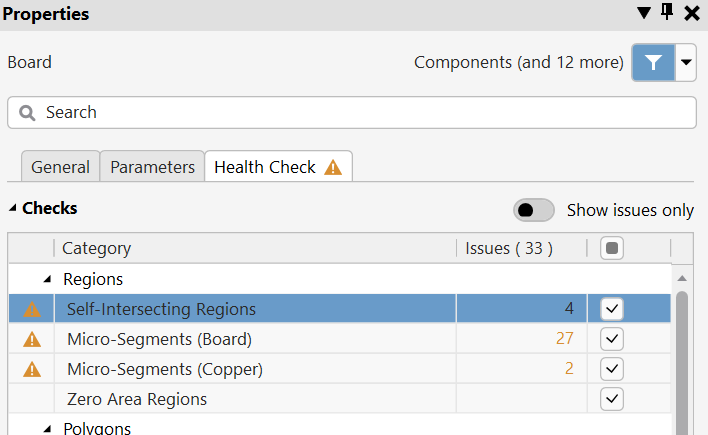
As shown in the screenshot, while learning PCB design in AD recently, I discovered that besides DRC checks, AD also has a Health Check feature (the version used when writing this was 25.8.1). Several warnings appeared: Self-Intersecting Regions、Micro-Segments (Board)、Micro-Segments (Copper). This record mainly focuses on a strange issue encountered while fixing the first and third problems.

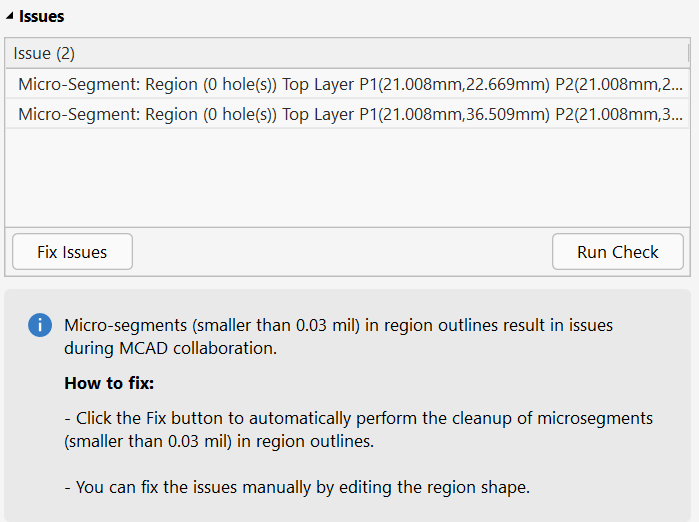
First, by clicking the issues listed:

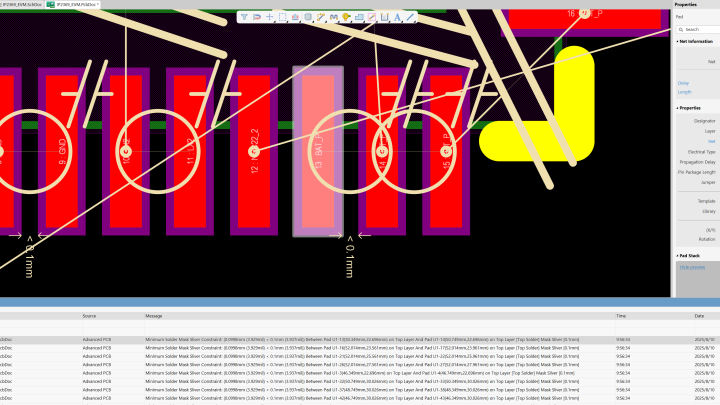
You can locate the PCB area where the problem was detected. In my board, it pointed to this location:

Continue reading…

Altium Designer 24 PCB DRC Solder Mask Sliver constraint floating point precision issue

While learning AD24 recently, I discovered an issue:

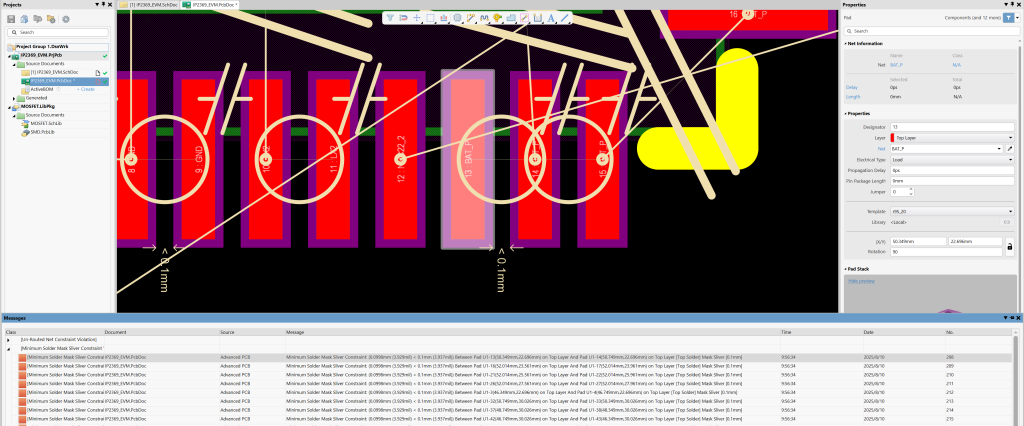
As shown in the screenshot, AD’s DRC check reported a violation:
“[Minimum Solder Mask Sliver Constraint Violation] IP2369_EVM.PcbDoc Advanced PCB Minimum Solder Mask Sliver Constraint: (0.0998mm (3.929mil) < 0.1mm (3.937mil)) Between Pad U1-21 (52.014mm, 25.561mm) on Top Layer And Pad U1-22 (52.014mm, 25.961mm) on Top Layer [Top Solder] Mask Sliver [0.1mm]”

After investigating and manually calculating pad size, solder mask expansion, and pad spacing:

Continue reading…

One cause of GitLab built‑in CI runner submodule initialization error

First, the background: a GitLab project that references other projects within the same GitLab instance using submodules. The .gitmodules file looks something like this:

[submodule "lib1"]
	path = lib1
	url = http://gitlab.xxx.xxx/group1/lib1.git
[submodule "lib2"]
	path = lib2
	url = http://gitlab.xxx.xxx/group2/lib2.git
[submodule "lib3"]
	path = lib3
	url = http://gitlab.xxx.xxx/group3/lib3.git

This structure works fine during local development. Of course, the local GitLab account has access permissions to the dependent submodule repositories. When setting up the CI build environment, using GitLab’s docker runner on Linux works without issues. However, on macOS using the shell runner, I encountered errors when initializing submodules:

Continue reading…

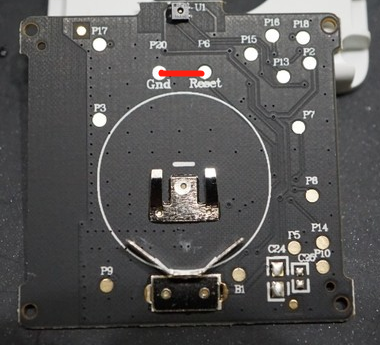
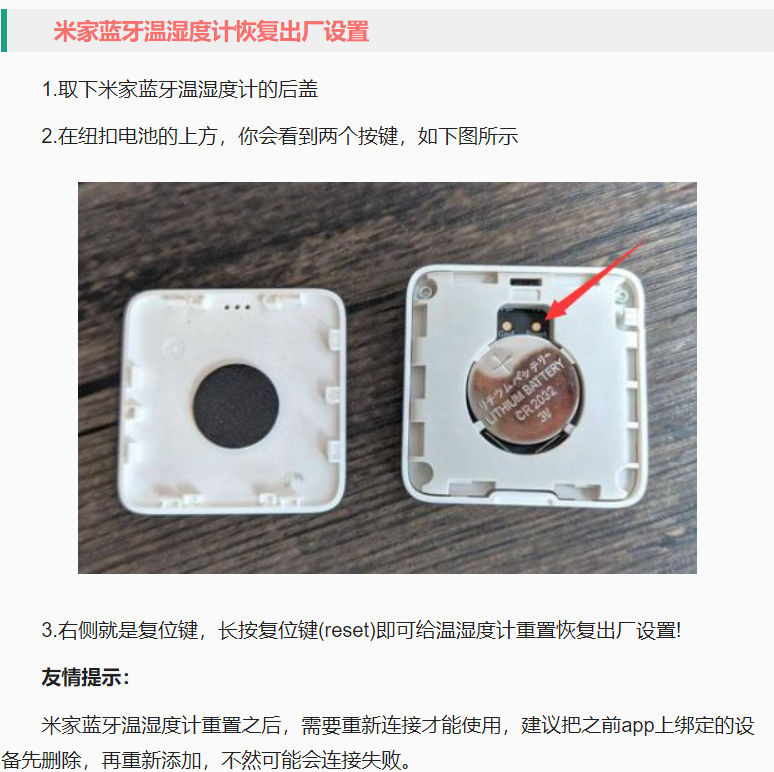
Correct reset method for Xiaomi Mijia Temperature and Humidity Sensor 2 (reset, factory restore, contacts not pressable)

I have three Xiaomi Temperature and Humidity Sensor 2 devices at home, connected to the Xiaomi Smart Plug 2 Bluetooth gateway. They are small and convenient, allowing me to check home temperature and humidity anytime on my phone. Recently, after replacing the battery in one of them, a strange problem appeared: the device could be seen in the Mi Home app, and it showed as connected to the Bluetooth gateway, but no temperature or humidity data could be retrieved. Entering the device details page gave no response, only prompting “Turn on Bluetooth.” If I enabled phone Bluetooth, it would connect very slowly to the device and eventually retrieve data, but the process was sluggish, unlike before when the gateway connection was instant. This also meant that when away from home, I could no longer see real‑time data from this sensor (the gateway page in the app still showed the sensor connected with full signal). Later I checked the firmware and found it could be upgraded to the latest “0130.” I upgraded (the process was also very slow, probably due to Bluetooth transfer), but the problem remained! Searching online, I found people suggesting a reset, which brings us to today’s topic. The reset design of this Xiaomi sensor is rather unusual. Most online reset methods say this:

Continue reading…

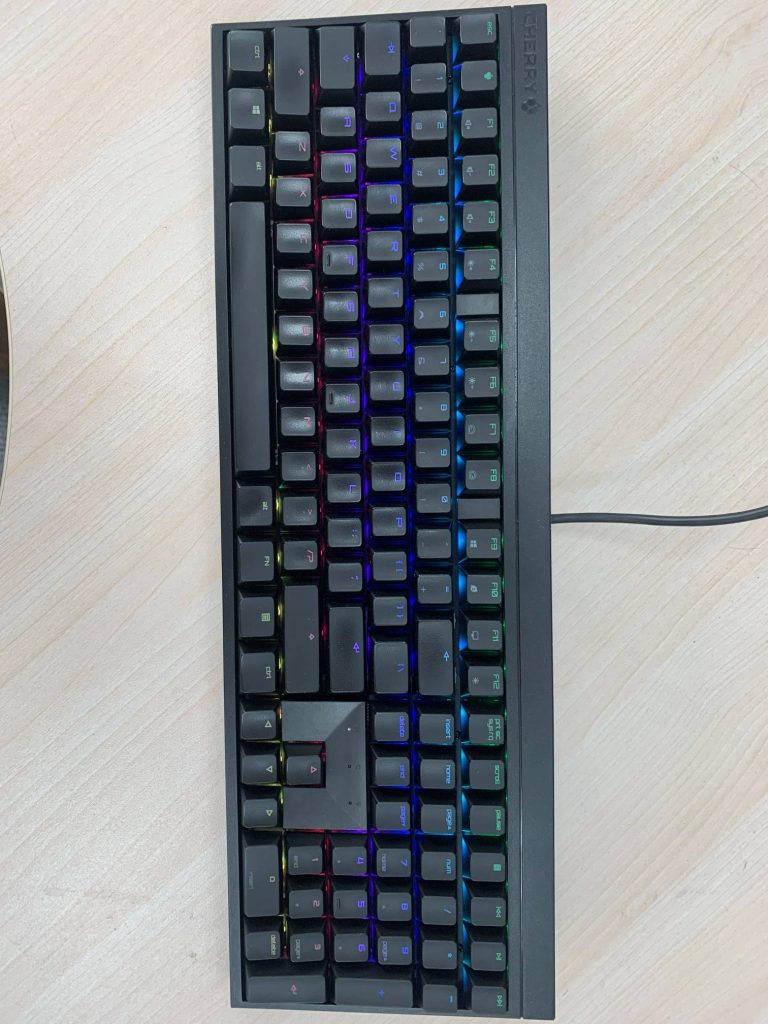
Cherry MX2.0S RGB keyboard LED failure repair log again

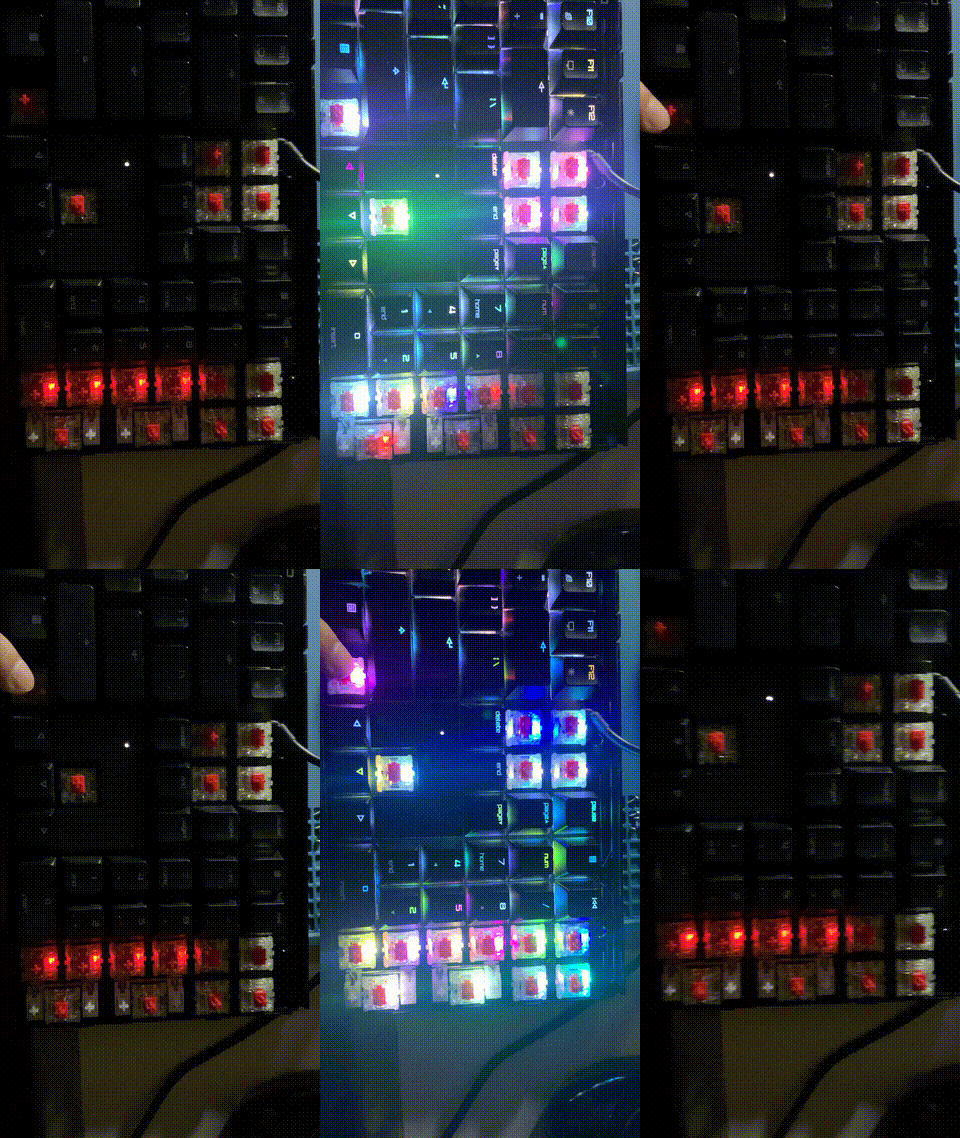
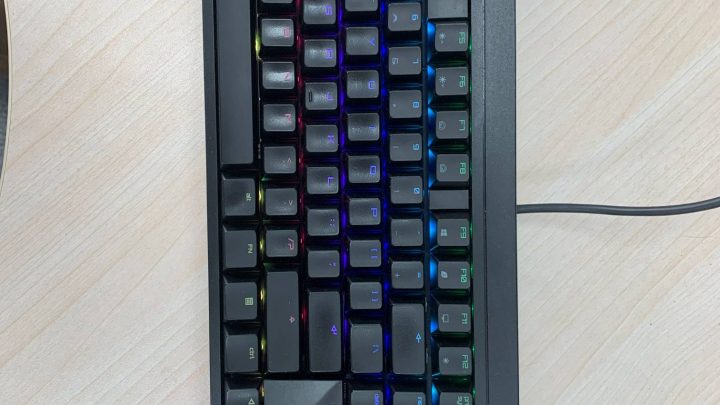
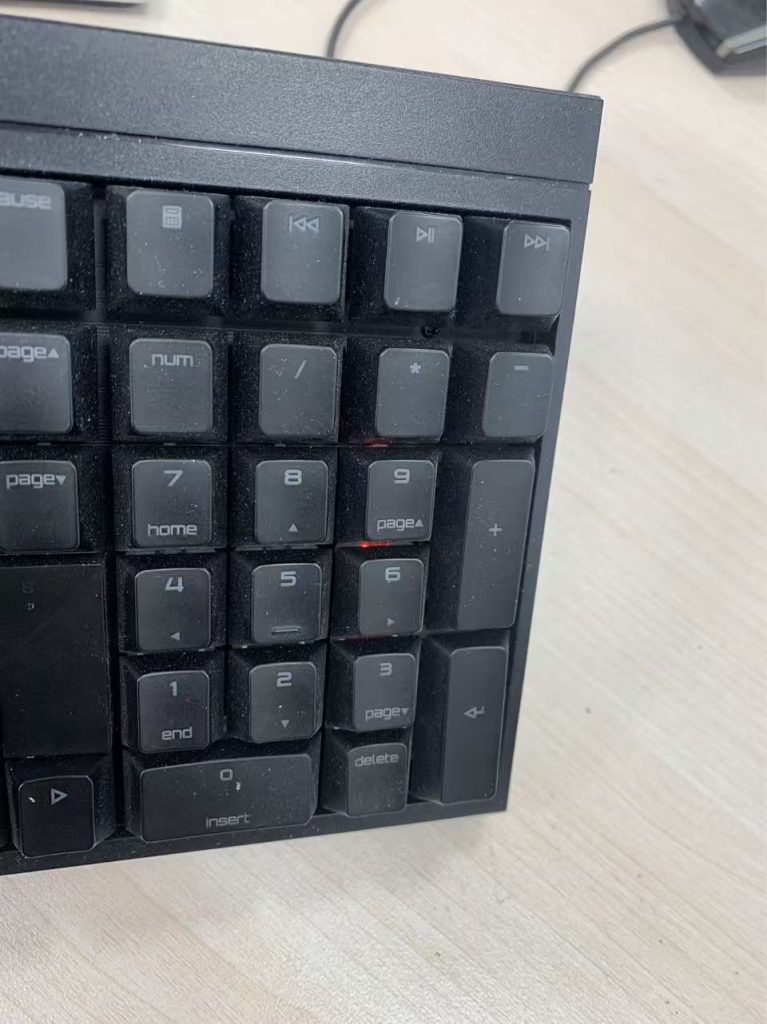
Following the first repair of my Cherry MX2.0S RGB keyboard LED failure last October (Repair log of Cherry MX2.0S RGB keyboard lighting failure after more than 3 years), I recently found another group of keys (numeric keypad 9, 6, 3, DEL) showing the same fault:

This time my hand didn’t shake 😂, and I removed the keycaps and shot a video, the fault phenomenon is crystal clear!

Since I already had experience repairing this fault last time, this time I prepared to optimize the repair process and record the simplified steps.

Continue reading…

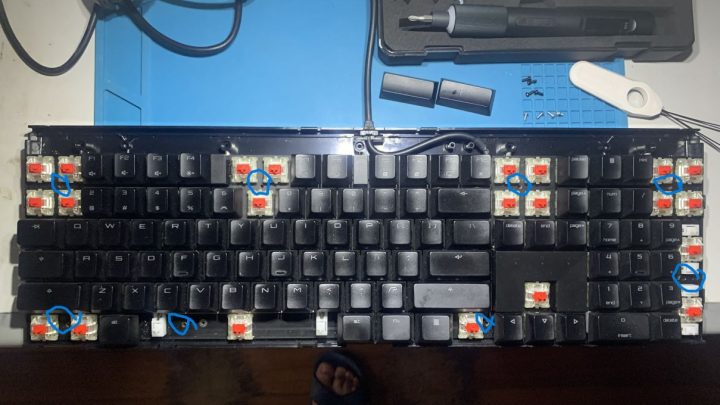
Repair log of Cherry MX2.0S RGB keyboard lighting failure after more than 3 years

This Cherry keyboard was bought by the blogger in April 2022 during a flash sale on JD.com, a red‑switch RGB keyboard, and has been used at the office ever since. In today’s era of domestic mechanical keyboards flooding the market, the MX2.0S doesn’t seem to have much special apart from the “Cherry” name. However, after using it for years I still feel it’s quite good, especially the layout. The shortcut keys in the upper right corner—calculator, media play, previous track, next track—are very practical. By comparison, the layout of the Durgod K310 RGB at home (which I bought earlier than the Cherry) is not as convenient.

Recently I noticed that the backlight of the PAUSE, PAGE UP, and C keys stayed constantly red. At first I thought it was a misconfigured lighting effect, so I tried installing the driver (yes, I had never installed Cherry’s driver in all these years), and also tried FN+PAUSE reset. None of this worked, so I realized it might be a hardware fault (the photo below is blurry but you can barely see the three keys stuck on red 😂).

On April 26, 2026, another group of LEDs showed the same fault, so I added a clearer photo of the symptom (the durability of MX2.0S LEDs is really poor):

During the October holiday, I took the keyboard home to disassemble and study it (and cleaned it up—after 3 years the ABS keycaps of frequently used keys are shiny with wear, and the inside was full of “treasures” accumulated over the years 😂).

Continue reading…